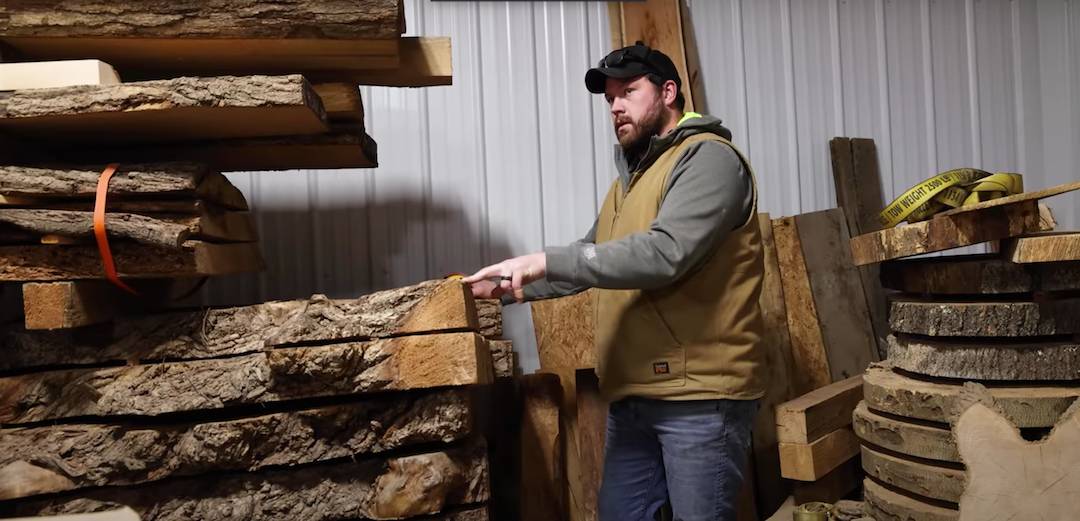
The dream shop has been in need of a better dust collector since we moved in. The system we had worked fine, but we needed something with some more collection capacity for future projects. Installing a whole new dust collection system is no easy task! That’s why I needed to get back in the shop to really start the installation process with Sam and Jordan. Wanna see how we did? Check out the full video here! The dream shop is really coming along in 2022 — now we can get back to some serious woodworking!
How to Build a New Workshop Dust Collection System
Find out how myself, Sam, and Jordan constructed a brand new dust collector and new ductwork in the dream shop

As we prepared for more projects in the dream shop, we realized that we needed a serious dust collection upgrade. We couldn’t keep our current system without quickly running out of collection space. So how’d we get started? We started with a parts delivery from Oneida of 2 more 55 gallon drums and 2 monster filters to handle the dust.
First, we removed the old dust collector. Before we removed the dust collector, we had an electrician install some wiring where we want to mount the new drum and motor. Sam and Jordan assembled the dust collector on the wall mount, and then I came back to the dream shop to help them get started mounting the motors.
Once I returned, we started by removing the old dust collector motor using a forklift. Safety first when it comes to moving these heavy motors! After successfully *not dropping* the motor we once again used the forklift to mount the motor in its position on the new drum. Once the drum and motor are successfully attached, it’s time to start on the ductwork.
We chose to mount ours at 12’ using a 7” pipe. We kept the runs as wide as possible to prevent clogging. Once you’ve got the floor sweep attachment ready to go, the last step is to attach the ducts to the table saw and joiner. Now that system is up and running, we’re ready to start woodworking in the dream shop!
Tools and Materials We Used
If you’re thinking of upgrading your dust collecting system, you’ll need these tools

First, we grabbed the measuring tape to make sure that the collectors are positioned at the ideal height. Then, we secured the wall mounting hardware using a drill. When it was time to remove and replace the motor, we used our trusty forklift. When you need to seal your connection between the tubes and your dust collection drum, use cold weather tape to ensure a tight seal.
After that, we used a 7” pipe to start building the ducts around the office according to the directions provided from Oneida. We also used a magnetic level to make sure the pipes are level. To mount the pipes we attached them to steel cables hanging from the ceiling. To determine where to hang the steel cables, we used a laser to point from the duct to the workshop ceiling. After the duct pieces are secure, we use gasket pieces to attach them. And there you have it! Everything we used to overhaul the dust collector in the dream shop. Check back here next week to see what else the Squirrely Squad takes on next!
Top Tools and Product Affiliates
Check out some of my top tools and product affiliates here.
Extra Supplies
Check out some of my merchandise, build plans, and go-to safety glasses.
- Plans
Thanks for watching and supporting me! If you liked this project, be sure to check out my merch and more from the dream shop!
- EPIC Office Remodel on a Budget in The Dream Shop
- HUGE 25ft. Lumber Wall Build in the Dream Shop!
- The Best Upgrade you Can Make To Your Shop
- WE FINALLY HAVE POWER In The Dream Shop!
- Epic Wall Transformation in The Dream Shop
- I BOUGHT MY DREAM SHOP!
- We Build A Soundproof Room in the Dream Shop
- EASY Beginner Basic Tool Workbench Build!