How to Build a Leak-Free Epoxy River Mold
Time is running out, SIGN UP for our new MASTERCLASS!
How to Build a Leak-Free Epoxy River Mold
Introduction
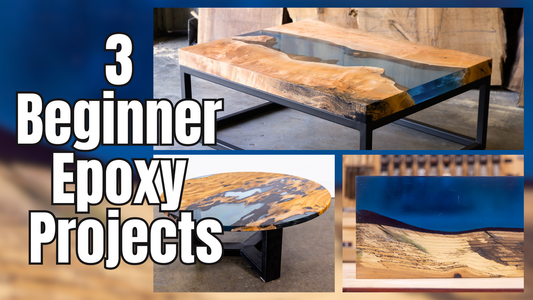
Building epoxy river tables can be a very rewarding and artistic way to make creative fun projects. A lot of people struggle to get started because they are concerned with wasting a lot of money with potential leaks and catastrophes when it comes to building their epoxy mold. As someone who has been doing this for over 6 years, I have developed a system that takes the guesswork and fear out of building a mold, as well as makes it easy to do by following a few steps.
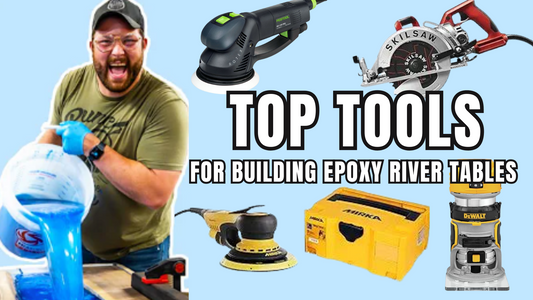
Understanding Your Materials and Measurements
Before getting started it's important to understand what materials you're using for your mold. In my opinion the easiest material to use is 3/4 in melamine which is available at most home stores. The melamine has a smooth plastic surface That helps with not having the epoxy stick to it.
Another important material for mold making is going to be sheathing tape. The epoxy does not stick to the sheathing tape so using it in your mold will help make for an easy removal once your table is poured. Lastly you want to make sure you have 100% silicone caulk on hand for sealing up the mold itself. I found that silicone is the best material for a proper release.
Suggested Materials List
Preparing Your Mold's Base and Sides
Start out by knowing the final size of the table you want to build and cutting the base plate of your mold to be slightly larger than your final table. you want to leave some room so you can cut all the sides down to give a nice crisp Edge.
Then you want to rip strips from the same melamine that are the base plate thickness Plus your table thickness plus a little extra. These strips should be long as you will cut them down in future steps.
For an easy release I would then cover your sides and bottom and sheathing tape now so you don't get tape build up in the corners. This makes it easier to do at this stage.
Assembling the Mold
To assemble the mold you're going to need to prepare your caulking gun in your 100% silicone caulk. make sure you're working off of a flat surface and lay your base plate down on it. add a bead of silicone to the bottom of one of your side pieces. you'll then use a 18 gauge Brad nail and flush one side of your side strip with the corner of the base plate. you'll be sure to leave the tail of your side piece long and overhanging your base plate.
Move to the next side and add your next strip flushing it to the overhanging side from your previous step. be sure to add caulking to the vertical surface as well as the bottom before nailing.
Repeat this process around all four sides.
Preparing the Mold for Epoxy
The final step before you pour is to add mold release to add some more security. You can use a spray or a wax release. I like to use the wax release because I feel like I've gotten better results in a more consistent release than when I used spray mold releases.
Vacuum out your mold before adding your slabs and you are ready to pour.
Bonus Tip
- When pouring, make sure your mold is fully supported underneath to avoid bowing when the weight of the slabs and epoxy is added
- If you want to reuse a mold base plate, cover the base in sheathing tape
- Keep a small mold nearby for any excess epoxy so that it doesn't go to waste.
If you're looking for more details and measurements check out my free downloadable PDF on how to build a leak free epoxy River mold in less than 10 minutes.