When I decided to buy The Dream Shop I knew I wanted to open up for more custom orders, and what is a cooler opportunity than building a conference table for the business literally right next door! The guys over at East End Plumbing & Mechanical brought us not only a bottle of booze but an opportunity to help them finish out their brand new showroom with an awesome conference table. They had an idea of something that they were looking for, then I put my spin on it, and we concluded that a larger scale walnut live edge table with their branding in the center would be perfect. Remember that sawmill we visited? Well, it's time to make something out of those walnut slabs! Wanna see the final product? Check out the full video on my Youtube channel!
How We Created a Custom Table for Our Neighbors
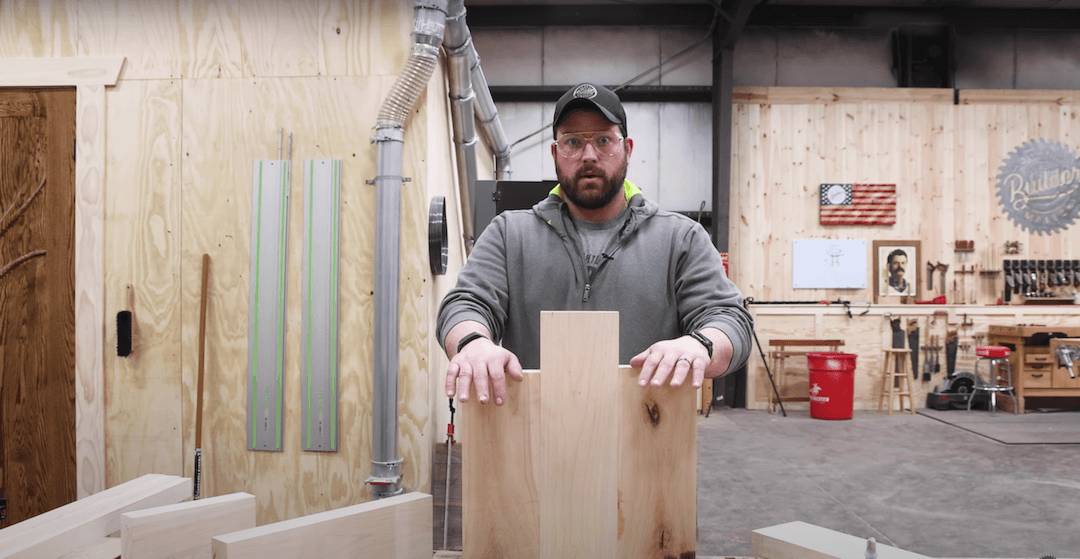
This was a big project, but not too big for me & the boys to handle!

To get this project started for the guys over at East End Plumbing & Mechanical, we showed them the slabs we got from the sawmill a few months back. They were impressed by the texture and quality of the wood, and we decided that the best course of action was to mirror the grain on both sides and create a seam in the center of the two slabs. By combining the slabs so they mirror each other, it makes the surface look like one continuous slab—which is exactly what we want for this project.
Once we got the OK, Jordan and I started prepping the wood by removing the bark and flattening the slab using the CNC. After that, I set out to get the two slabs perfectly joined together. It took me far more tries than I would like to get the whole thing joined perfectly, but what really matters is that we got there in the end. Although, when we run into issues like this in the shop, we end up losing money on these custom projects. That’s why it's so important to have processes in place for when things get squirrely—so we don’t end up losing money on manpower.
After we got the slabs perfectly joined, we moved on to cutting the logo into the surface of the table using the CNC. Then, Jordan got to pouring the epoxy. This job requires a 2 step pour, so we let the first pour dry over the weekend before we moved on to the finishing touches.
Once the epoxy dried, we got to the final few steps to finish this custom table. I sprayed the slab to make sure there is no leftover dust in any of the remaining holes and then I started applying the Rubio finish to the table. The finish didn’t go exactly as I wanted it to, so I had to redo the finish application, which unfortunately wasted a lot more time. For the very last step, I cut out space for a C channel at the bottom of the table and assembled the project! All there was left to do was to make a very special delivery using our beloved Ninja Turtle. Watch the full video to see how the guys over at East End Plumbing & Mechanical reacted!
Tools & Materials Used
Find out what it took to make these live edge slabs into a custom table

Turning these slabs into an impressive custom project wasn’t as easy as I’d like to admit, but the final product came out looking great nonetheless. I got the project started by flattening the slabs using our CNC, Miss Piggy. Then, I went through a few trials trying to get a decent joint on the two slabs. I used a track saw, but that wasn’t working. Next, I used a perfectly square bit which got us closer but still needed some more work. I ended up hand planing the slabs until I got the joint perfect, which wasted a lot of time. Then, Jordan used the CNC to cut the East End Plumbing & Mechanical logo and got started on the epoxy pours. Using TotalBoat High Performance Epoxy in orange and black, Jordan poured the first step and let it dry over the weekend. Then for the second epoxy step, Jordan cut and poured the white epoxy to finish out the logo.
Once the epoxy was ready to go, it was time to finish the table with Rubio Monocoat Finish. Finishing the underside went off without a hitch using the GEM 11" Electric Orbital Sander, but due to human error, the top side came out looking a little too streaky. After sanding and refinishing the table, the tabletop was ready for final assembly. I used a Woodpecker handheld drill press to get the threaded inserts in precisely, and then the table was ready to go!
Top Tools and Product Affiliates
Check out some of my top tools and product affiliates here.
Extra Supplies
Check out some of my merchandise, build plans, and go-to safety glasses.
If you liked this video, check out some of these videos on my Youtube Channel!
- IMPOSSIBLE Floating Table Build - Will It Work?
- IMPOSSIBLE Floating "Cave" Table Build
- I Can't Believe MY Client Wants This In Their $30,000 Table
Want to see more of the Dream Shop?
- I BOUGHT MY DREAM SHOP!
- Why Does This Soundproof Room Suck?
- Epic Wall Transformation in The Dream Shop!
- WE FINALLY HAVE POWER In The Dream Shop!
- HUGE 25ft. Lumber Wall Build in the Dream Shop!