We Build A $5,000 Table Using Basic Tools
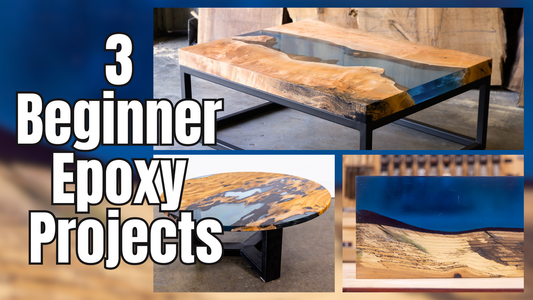
Today we’re building an awesome round table using only basic tools and some epoxy. How’d we do it? All it took was some hard work and an old piece of burnt out wood in the shop. We wanted to turn this beautiful piece of wood into an equally beautiful piece of furniture for the office showroom. To see how we did it step by step, you can check out the full video here. You could say we’re already off to a great start in the new workshop! Stay tuned to see what we tackle next week!
How to Build a $5,000 Epoxy Table Using Basic Tools
The Boys and I create one of our best looking epoxy projects to date

The first thing we did to get started on the table was make a 40” round template. The template doesn’t have to be perfect, it's just to give you an idea of the table size you’re working with. Next, we found a great piece of burned out wood lying around the office that is perfect for epoxy work.
Now we have our template and wood, it’s time to start tracing. We wanted to make sure that we highlighted all the interesting voids and gaps in the burned wood. The next step is one of the most important. We cleaned the wood by sanding and blowing away any loose particles that could float up to the surface once the epoxy is poured. Once the wood was well cleaned, we painted the gaps in the wood with resin to further prevent any stray pieces from showing up.
Now for the moment we’ve all been waiting for, time to pour the epoxy! We laid down plastic sheets and set the temp to 65 and began pouring. Using 4.5 gallons of epoxy and one drop of blue color, the mixture came out to a smoky translucent blue. It also kinda looked like blue gatorade to us — check out the video and see if you agree. Then for the most satisfying step, torching the epoxy.
Now the tabletop is almost ready to go, it just needs to be cut, sanded, and stained. Oh, and we can’t forget about attaching the metal base! After the metal base is attached, we take a step back and admire our creation — a very important final step.
Tools and Materials We Used
Find out what we used to make a piece of burned out wood into a $5,000 table

All right, for this project we only wanted to use basic tools so yinz at home can follow along. First, grab your measuring tape, cardboard, and knife to trace and cut your template. Then, you need a piece of wood you want to use to make your table. We chose ours because of the interesting burn patterns. After that, we used our power sander to clean out the burned parts of the wood to get it ready for the epoxy. Before we pour the epoxy though, we painted the wood with resin to seal any leftover wood pieces that would float in the epoxy.
To get the epoxy mixture started, pour 4.5 gallons of Total Boat Fathom Thick Set epoxy and one drop of Translucent Blue Alumilite Dye. It only took one drop to make the smoky blue color we wanted!
To finish the table, we used a router sled jig and a router with a flash stream bit to make sure the table is level. Then grab your wood stain, apply to the , and there you have it — a $5,000 table!
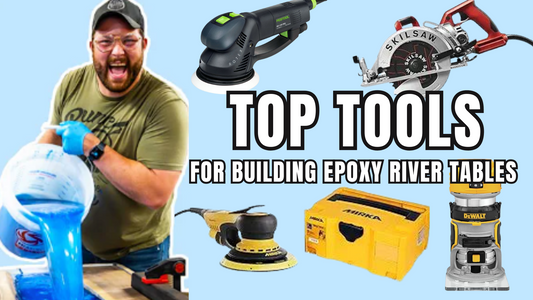
Top Tools and Product Affiliates
Check out some of my top tools and product affiliates here.
Extra Supplies
Check out some of my merchandise, build plans, and go-to safety glasses.
- Plans
Thanks for watching and supporting me! If you liked this project, be sure to check out my merch and more of our Epoxy projects!
- How I Made Jocko Willink Smile!
- I Build An Epoxy Table For The Pittsburgh Steelers
- HUGE 26 Foot Long EPOXY River Table Bar Build!
- I Make a Guitar From BULLETS & EPOXY for Mat Best
- CRAZY Epoxy Waterfall River Table Build


