
We Finish The Kitchen — Renovating My Kitchen Part 7
This kitchen has been one BIG uphill battle, but we finally could put a cap on it. This renovation has been a hell of a ride, and Thank God I had Sam and Jordan to help me out. On this last episode of Idiots Build a Kitchen, you’ll get nothing less than squirrelly. There are a few tips, a couple of mess-ups, and maybe a tear or two. Watch the full video to see the kitchen fully put together. It’s something quite beautiful if I do say so myself.

I Never Want To See Another Kitchen Renovation Again
John Malecki walks you through the final stages of his kitchen renovation.

To start off in this episode, we had a countertop, cabinets, a sink, and I drank four cups of coffee. So first up in the kitchen for this episode is a backsplash. We decided to go with subway tiles since they cost less and will be a lovely shiny accent to the matte finishes in the rest of the room. Another plus with the tiles we chose was that we didn’t need to use any spaces, which kept us moving quickly. After measuring and cutting, we used a premixed thin-set to adhere our tiles to the wall.
We cut some stuff, put some tile up, and somehow managed to make it look pretty dang epic. On one side of the kitchen, it took us about 4 hours to lay out the tile with no proper planning. When we decided to plan before putting down the tile on the second side, it only took about 30 minutes. If that doesn’t tell you how important it is to plan, I’m not sure what will.
After a few mistakes and a little extra time, money, and paint, we pulled this renovation off. Jordan may never want to renovate another kitchen again, but I don’t know if I ever want to either. Check out our backsplash and kitchen reveal by watching the entire video.
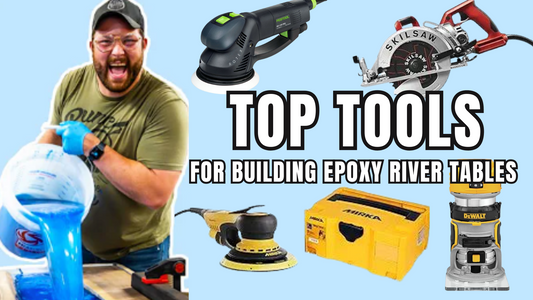
Tools and Materials
John Malecki gives you tips and tricks on how to finish strong on all your builds.

For this build, we used a lot of tools to make sure our tiles were cut precisely. A laser level was perfect for keeping the subway tiles straight, and it was easy to see the line even after we put the adhesive on the wall, unlike how it would be if we drew the line directly onto the wall. We also used a tile cutter to cut the edges of the tiles, but when it came to cutting the pieces of tiles that were a little too large for the backsplash, we brought out the big guns. Our wet saw helped us keep those lines pristine and straight to make sure this project looked as professional as possible. I’ve also added a list of all the tools we use on almost every build, including this one!
Top Tools and Product Affiliates
Check out some of my top tools and product affiliates here.
Extra Supplies
Check out some of my merchandise, build plans, and go-to safety glasses.
- Plans
Thanks for watching and supporting! Be sure to check out my NEW MERCH and if you liked this project, take a look at others here:
- We Build and Destroy a $10,000 Desk
- ULTIMATE Shop Storage Cabinet Build
- HIDDEN Compartment Catch All Box
- CRAZY Difficult Rocking Chair Build for My New BABY!